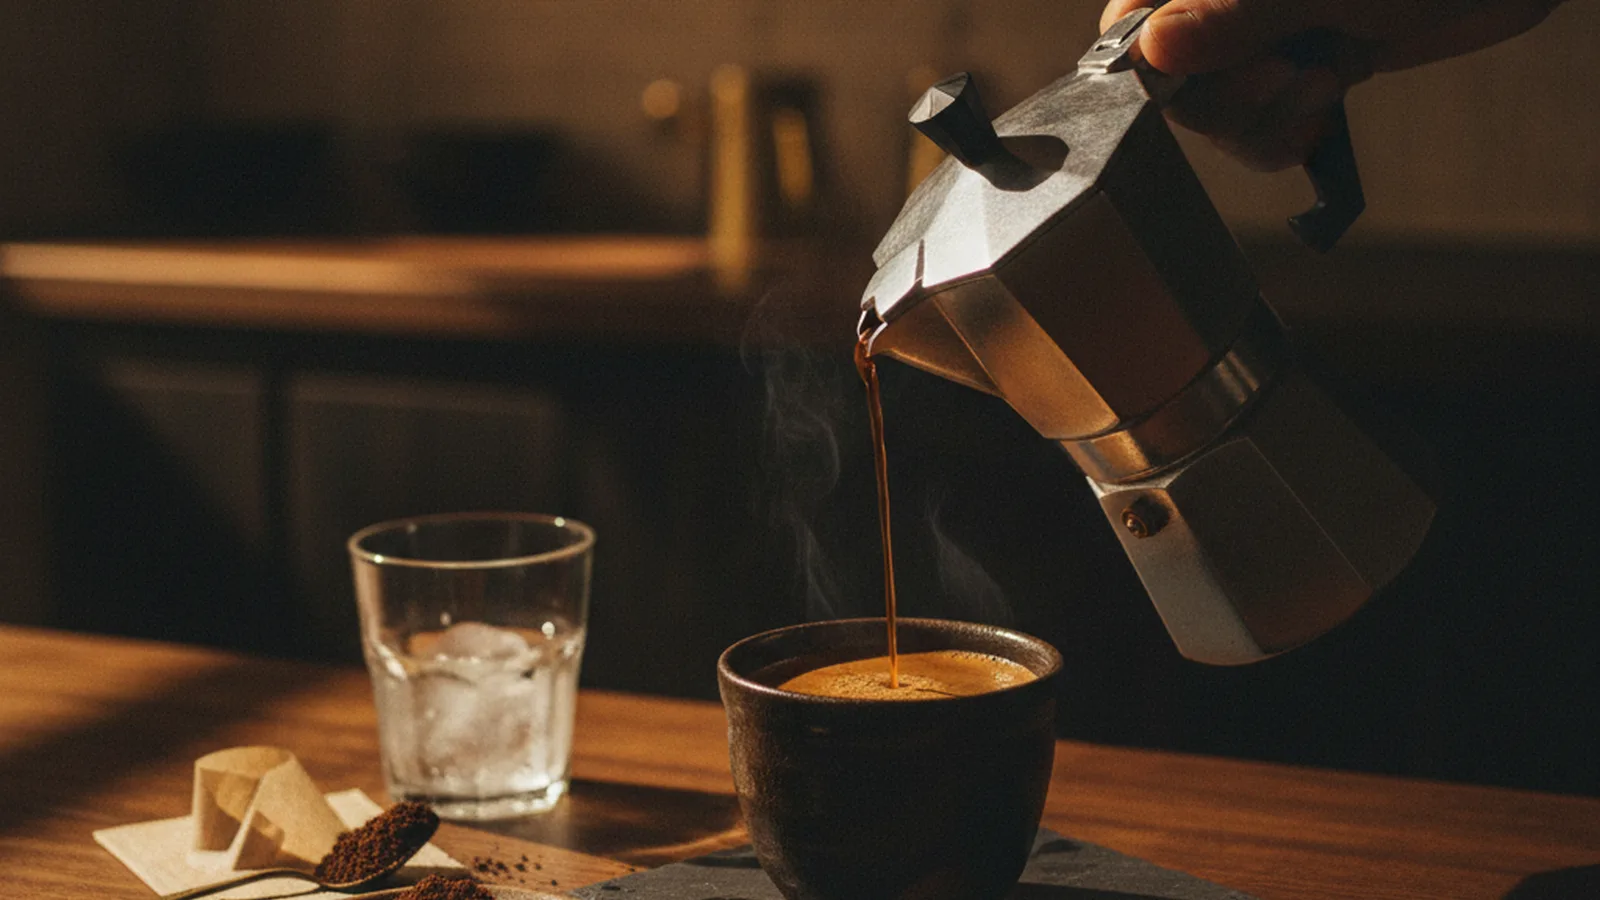
If your moka pot coffee tastes sharp, ashy, or flat-out bitter, you are not imagining it and you are not doing something exotic wrong. Moka pots are unusually easy to over-extract compared with pour-over or drip, and the reasons are mechanical, not mystical. Fix the mechanics and the bitterness mostly disappears.
The physics: why moka pots run hot
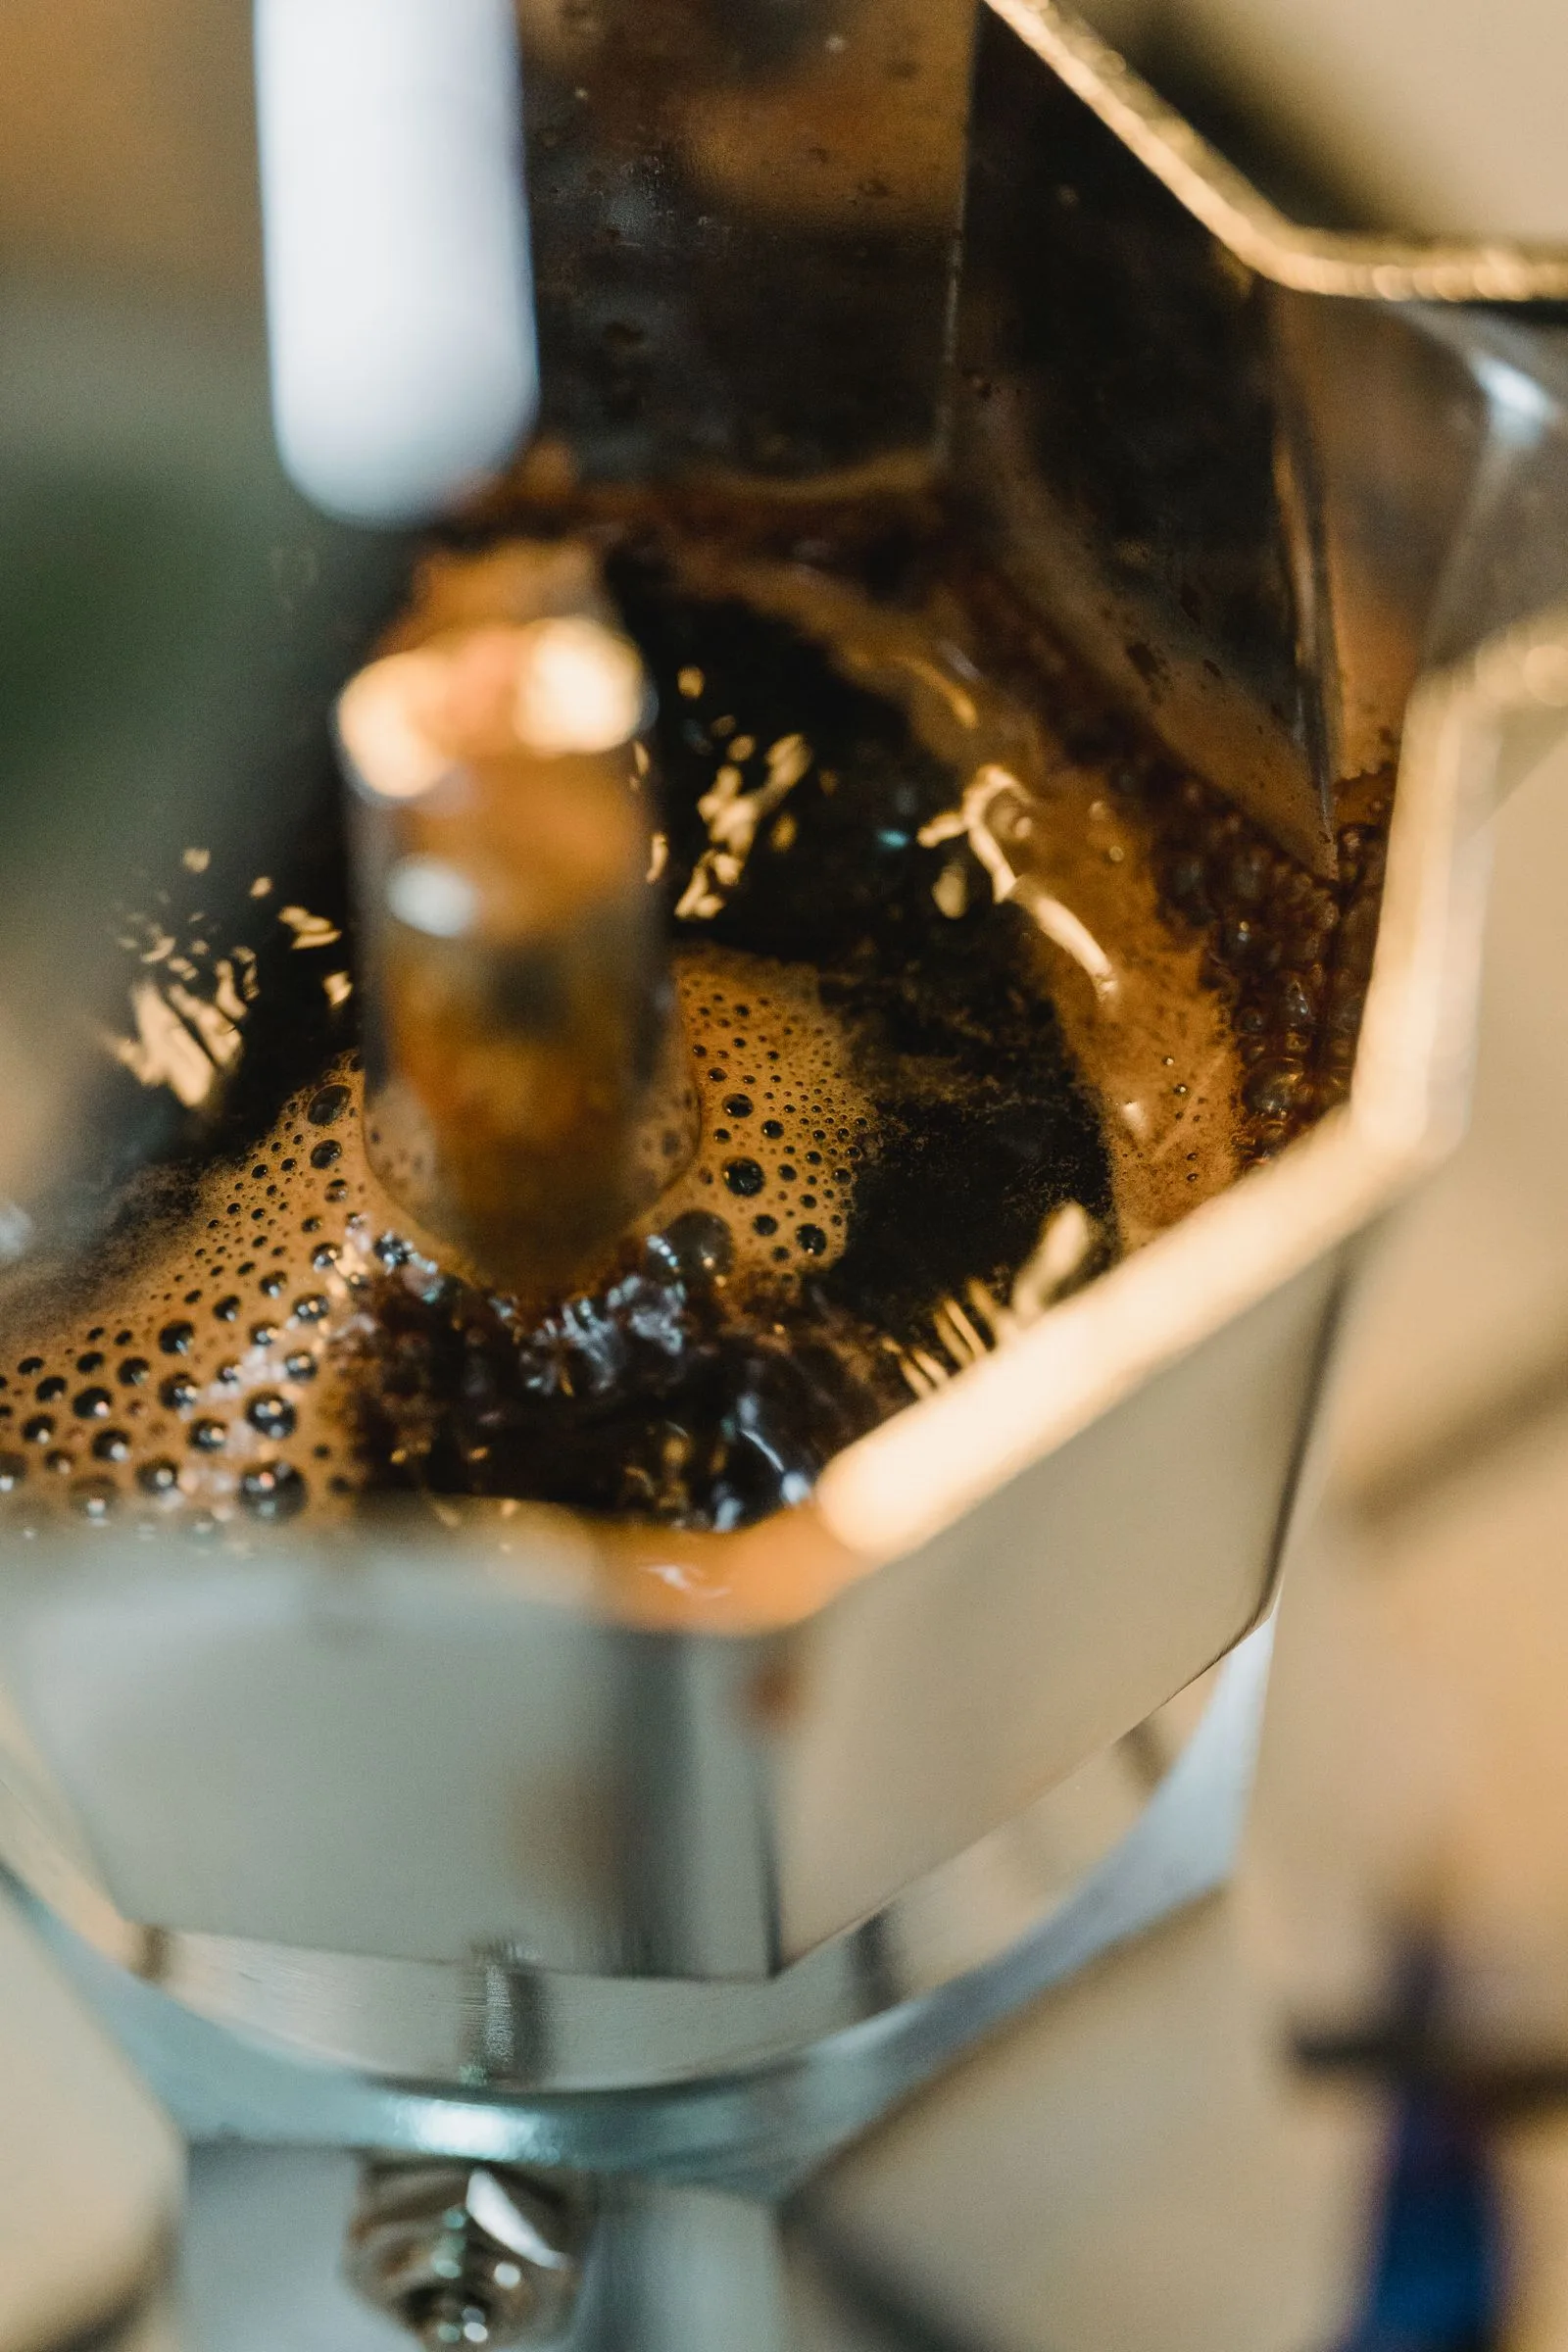
A moka pot works by sealing water in a bottom chamber, heating it until pressure builds, and forcing that water up through a funnel, through a bed of packed coffee, and into the top chamber. The pressure involved is modest, roughly 1 to 1.5 bar, nowhere near the 9 bar of an espresso machine, but because the water sits in a sealed metal vessel directly on a heat source, it runs hotter for longer than water in an open kettle, and the last stage of the brew is driven almost entirely by steam rather than liquid water. That combination, hot water under mild pressure with very little precise control over contact time, is exactly the recipe for over-extraction, and over-extraction is what your tongue reads as bitterness. Every fix below is really about controlling one of three things: how hot the water gets, how long it sits in contact with the grounds, and what happens in the final seconds of the brew.
Heat too high
This is the single most common cause of bitter moka coffee, and it is almost always a stovetop problem rather than a coffee problem. Crank the burner to high and the water heats and pressurises fast, so it blasts through the coffee bed turbulently instead of passing through it steadily. That turbulence increases contact between hot water and fine particles, which pulls harsh, bitter compounds out early and keeps pulling them for the rest of the brew.
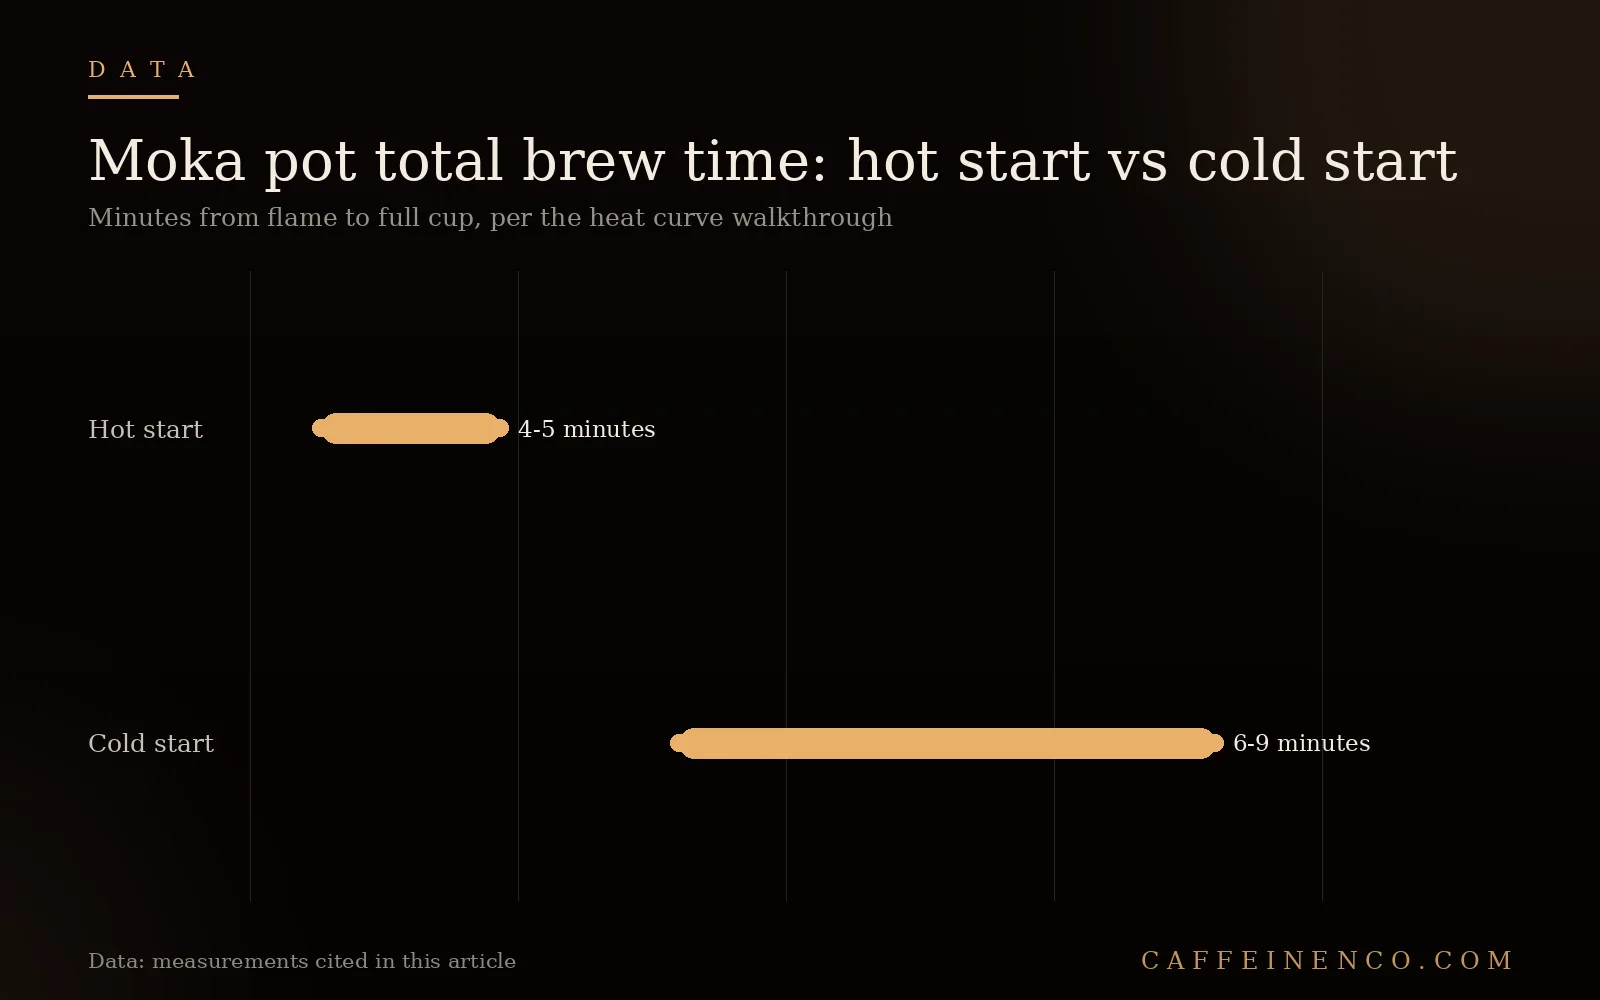
The fix is boring but it works: medium-low heat, full stop. A well-run moka pot on the right burner setting should take roughly 4 to 5 minutes from flame to full cup, not 90 seconds. If your pot is done brewing before you have finished setting the table, your heat is too high. Listen for the sound too. A gentle, steady trickle followed by a soft, continuous stream is what you want. A sudden eruption or a loud, aggressive gurgle early on means you are cooking the coffee, not brewing it.
The cold water vs hot water debate, and where we land
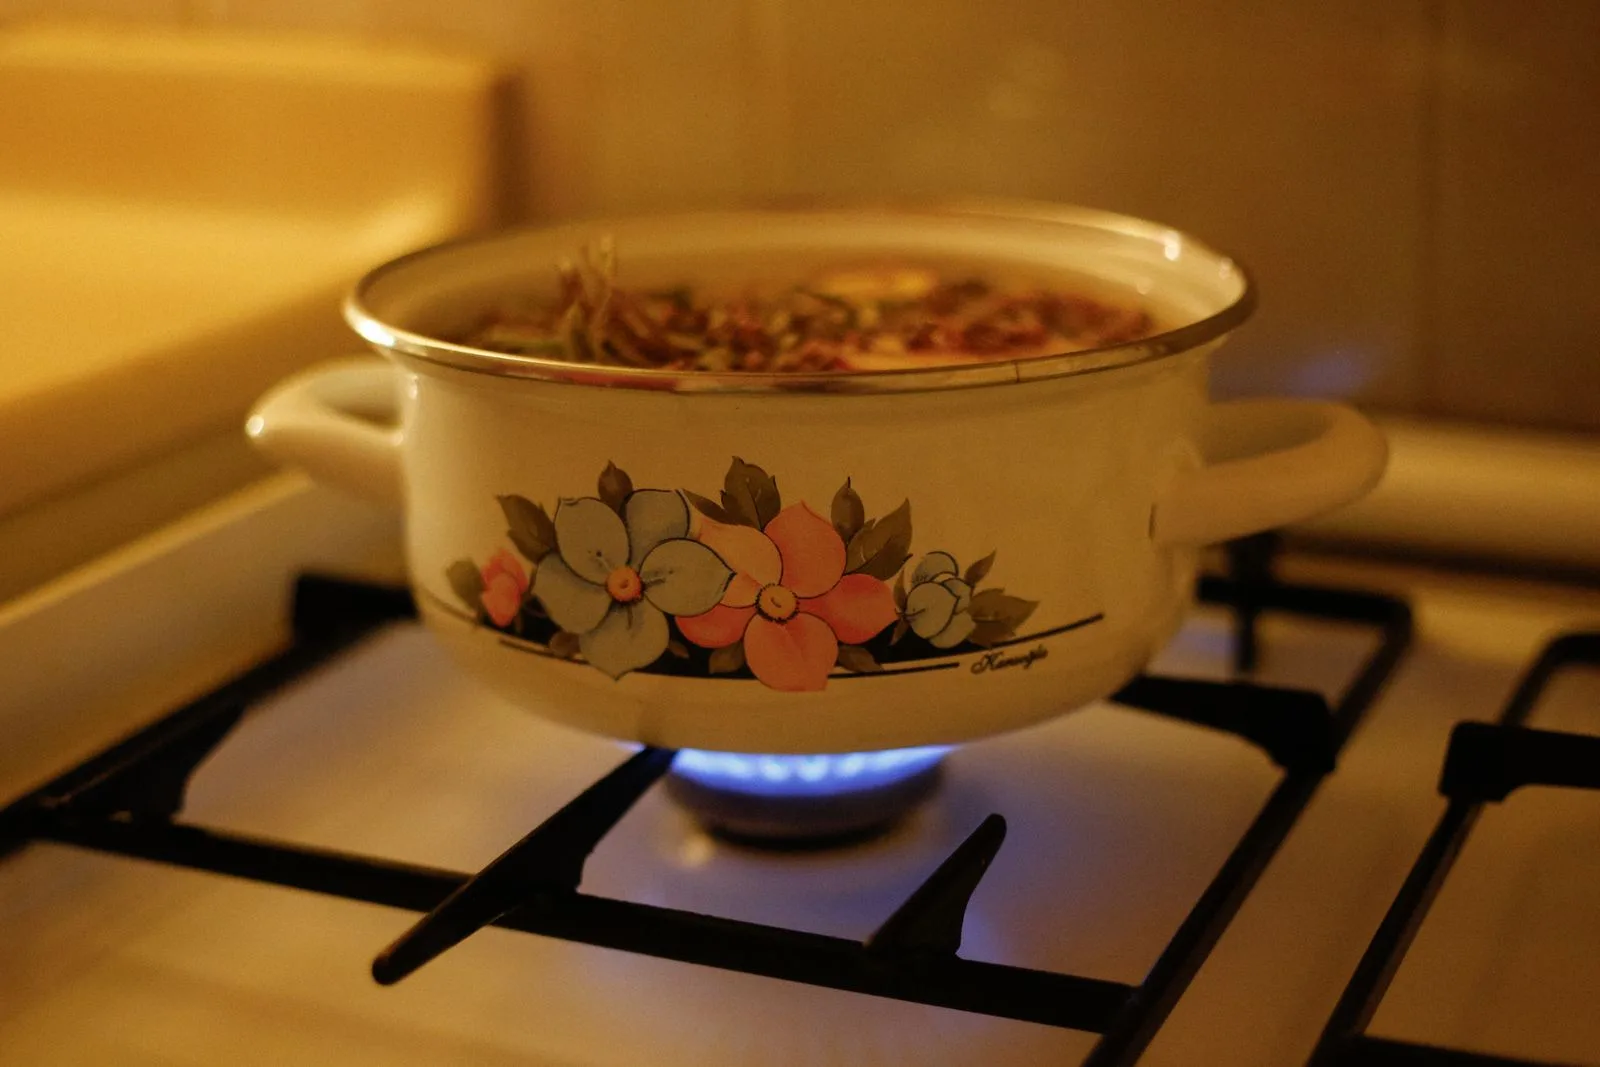
This is the most argued-about variable in moka brewing, and honestly, both camps have a real point.
The case for cold water is tradition and simplicity. Illy’s own brewing guide recommends cold water, and it is how most Italian kitchens have always filled a moka pot: straight from the tap, no kettle required. The gradual heat ramp distributes warmth evenly through the aluminium body, and if you are using a classic dark Italian-style roast, which is already highly soluble, a slower, gentler ramp can actually suit the bean better than a hard, fast extraction.
The case for hot, pre-heated water is more technical, and it is compelling. Wogan Coffee cites physics research from Warren D. King showing that when you start with cold water, the water reaching the coffee bed is only around 70°C by the time flow begins, well below the 93 to 98°C range generally considered ideal for extraction. Worse, getting to that point takes 6 to 8 minutes of heating, during which the grounds sit in an increasingly hot metal basket, effectively toasting before any real brewing happens. Complete Home Barista makes the same case from a different angle: pre-heating your water to around 70°C before adding it to the pot cuts total brew time to 2 to 3 minutes, sharply reducing how long the grounds are exposed to heat, and produces a noticeably sweeter, less bitter cup.
Our position: for most people chasing a cleaner, less bitter result, start with water that has been off the boil for a minute or two, not fully boiling, not cold. It skips the multi-minute scorching phase entirely and gets you into a controlled, fast brew. If you are working with a genuinely dark, oily, pre-ground Italian roast and you are disciplined about pulling the pot the instant it sputters, cold water still makes a perfectly good cup. What it does not forgive is inattention, and inattention is where most bitterness actually comes from.
An overfilled or tamped basket
Do not tamp a moka basket. This trips up people coming from espresso, where tamping is essential, but a moka pot is not an espresso machine and treats compacted grounds very differently. Tamping increases resistance, which forces pressure and temperature to climb higher before water finally breaks through, and once it does, it rips through unevenly rather than passing through steadily. The result is a brew that is simultaneously channelled in some spots and badly over-extracted in others, which reads as harsh, bitter coffee with an odd, inconsistent edge.
Overfilling causes a related problem. Piling grounds above the rim of the basket forces coffee into the funnel threads, the rubber gasket, and sometimes the safety valve, none of which are meant to hold coffee. Fill the basket level with the rim, give it one gentle shake to settle, and stop there. No mound, no press, no tamper.
Letting it sputter to the end
The gurgling, hissing, sputtering sound at the end of a moka brew is not the final flourish of a great cup, it is steam pushing through a bed that has mostly given up its liquid. At that point you are pulling the driest, harshest compounds left in the grounds, and steam runs hotter than the boiling water that came before it, which makes this final stage the single bitterest few seconds of the entire brew.
The fix is simple and immediate: the moment the flow turns pale, thin, and blonde, and you hear that hiss start, take the pot off the heat. If you want to stop extraction even faster, run the base briefly under cold tap water for 10 to 15 seconds. This drops the internal pressure instantly and halts the brew cold. You lose nothing in yield that matters and you cut out the worst-tasting part of the process entirely.
The wrong grind
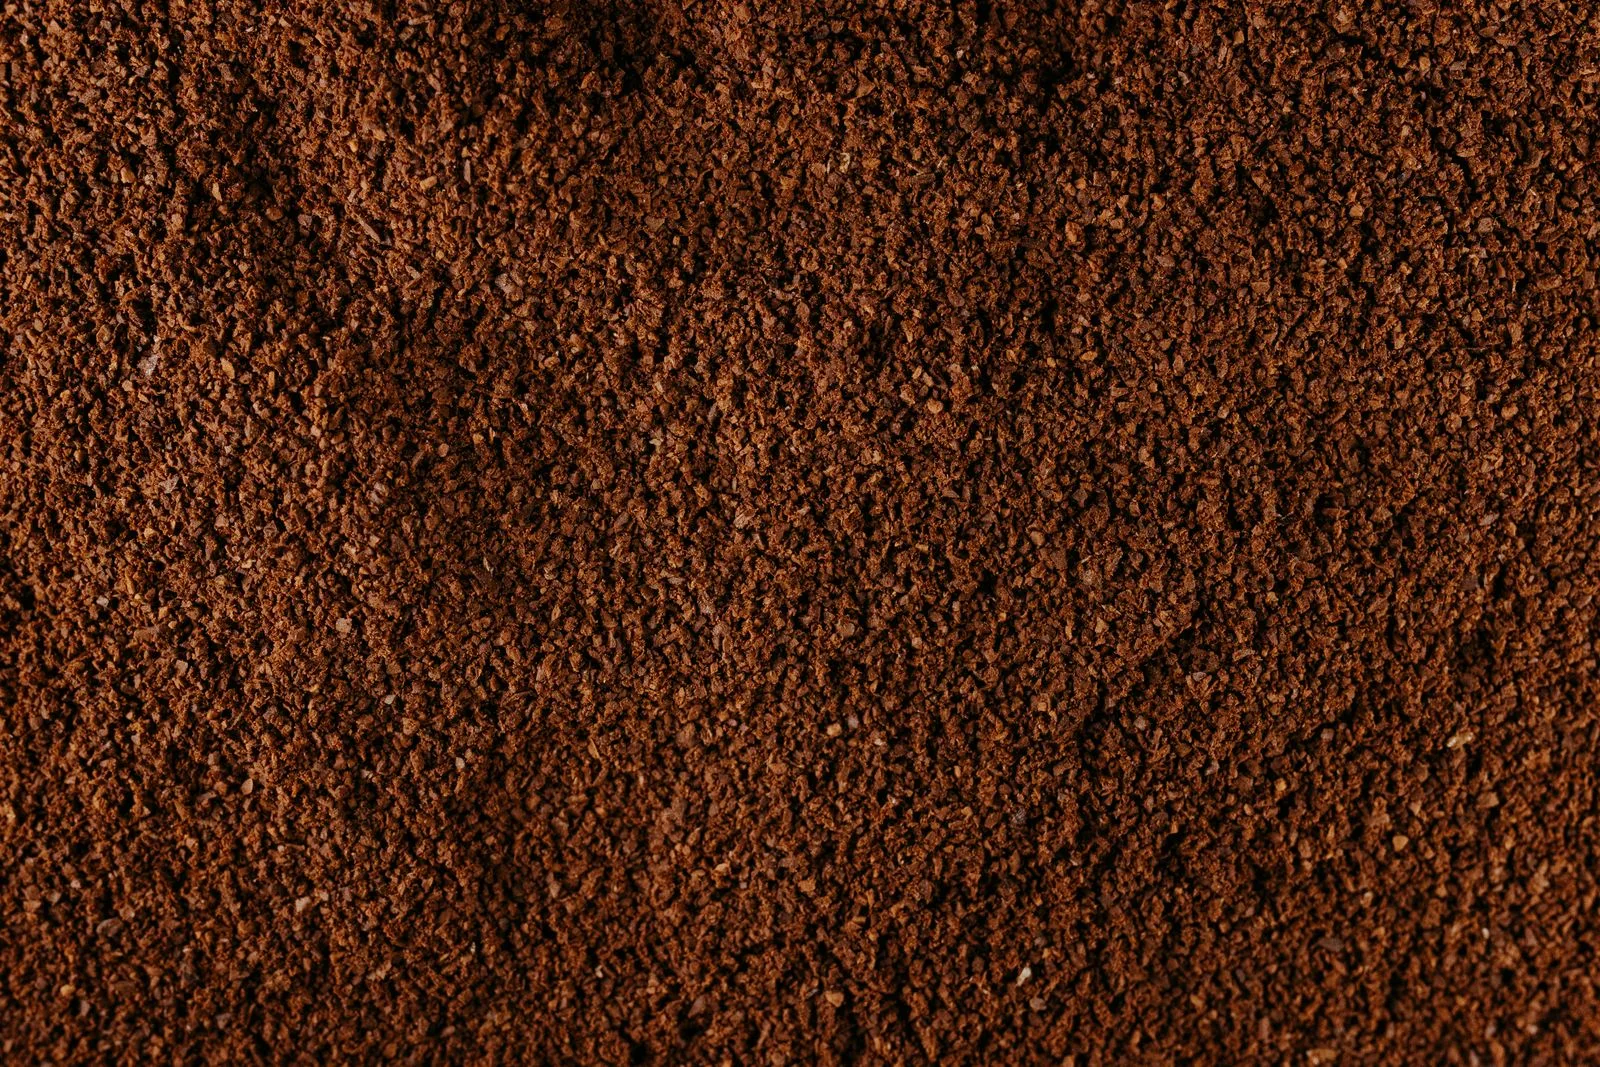
Moka pots want a grind finer than drip or pour-over but coarser than espresso, roughly the texture of fine table salt or beach sand. Too fine and the bed behaves like a poorly tamped espresso puck: it chokes the water, forces pressure and heat higher before breakthrough, and then over-extracts hard once flow starts, sometimes pushing fine grounds straight through the filter and into your cup. Too coarse and water rushes through with barely any resistance, under-extracting the coffee into something thin and sour, which, confusingly, new brewers often still describe as “bitter” because thin, sharp coffee reads as harsh even when it is technically under-extracted.
If you are grinding at home, a burr grinder with a dedicated moka setting is worth the money. If you are buying pre-ground, look for bags specifically labelled for moka or stovetop use; Illy and Lavazza both calibrate their moka grinds correctly out of the bag.
The heat curve: what to do, minute by minute
Here is a practical walkthrough for a standard stovetop moka pot on medium-low heat, lid open so you can watch and listen throughout.
0:00 Assemble the pot. Water in the base up to just below the pressure valve, basket filled level with the rim and not tamped, top chamber screwed on finger-tight.
0:00 to 0:30 Place on medium-low heat. Do not walk away; this brew needs your attention for its full length.
1:00 to 3:00 (hot start) or 3:00 to 5:00 (cold start) The heating and pressurising phase. You should hear a faint, building hiss as pressure develops. No coffee should be flowing yet.
Around 3:00 (hot start) or 5:00 (cold start) First coffee appears at the spout: a thin, dark amber trickle. This is the beginning of the good extraction.
Next 60 to 90 seconds The flow thickens into a steady stream, often with light, foamy bubbles at the spout tip. This is the bulk of your extraction. Keep the heat exactly where it is; do not raise it to “speed things up.”
Around 4:00 to 4:30 Watch the colour. It will start shifting from dark amber to a lighter, paler tan. This is your warning window, not your finish line.
The instant it turns pale and you hear sputtering or hissing Remove from heat immediately. Cool the base under cold water for 10 to 15 seconds if you want a hard stop. Total time should land around 4 to 5 minutes for a hot start, 6 to 9 minutes for a cold start, which lines up with the physics: a hot start simply skips the several minutes of scorch-only heating that a cold start has to pass through first.
For the full step-by-step brewing process, including ratios and grind settings by pot size, see our moka pot brew guide.
Common questions
Can I fix bitter moka coffee after it has already brewed? Not really, and it helps to know why. The harsh compounds are already in the cup, so nothing you add afterwards removes them. Diluting with hot water, Americano-style, reduces the concentration and makes the bitterness less overwhelming, and a splash of milk masks it further by coating the palate. Both are damage control, not a fix. The real fix happens on the next brew.
Does aluminium vs stainless steel affect bitterness? A little, indirectly. Stainless steel heats less evenly than aluminium and can develop localised hot spots that scorch the grounds nearest them, even when your burner setting looks correct. Aluminium, the traditional moka material, spreads heat more evenly and is more forgiving while you are dialling in your technique, which is part of why it remains the standard choice.
Why does my moka coffee taste bitter even on low heat? If heat is genuinely under control, look at the basket and the grind first, not the stove. An overfilled or tamped basket and a too-fine grind both cause the same over-extraction problem regardless of burner setting. Also check the rubber gasket around the funnel; a worn, cracked, or dirty seal lets pressure build unevenly and can force water through erratically even on a gentle flame.
Want more brew troubleshooting like this, sourced and tested rather than guessed at, dropped in your inbox weekly? Join The Sunday Pour.